Catalyst Blog
Featured Post

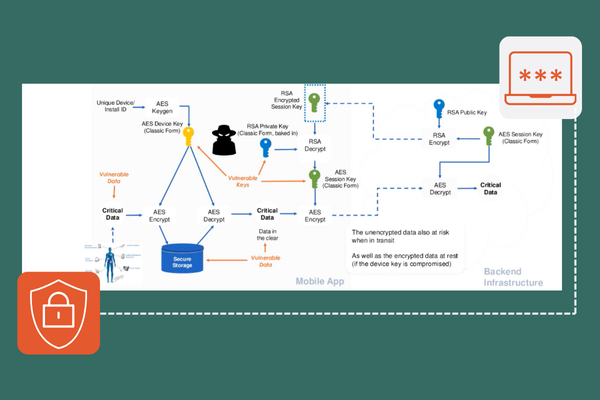
Understanding Magisk and the Shamiko Module: Unpacking Claims of Bypassing Digital.ai’s Android Security
Discover the capabilities of Magisk and its modules. Explore functionality, integration, security implications, Shamiko, and app hardening solutions.
SEARCH & FILTER
More From The Blog
Search for
Category

Boldly Expanding Testing’s Reach with Shared Devices
Discover how a library-inspired approach to testing with shared devices helps teams expand coverage, improve quality, and streamline software delivery at scale.
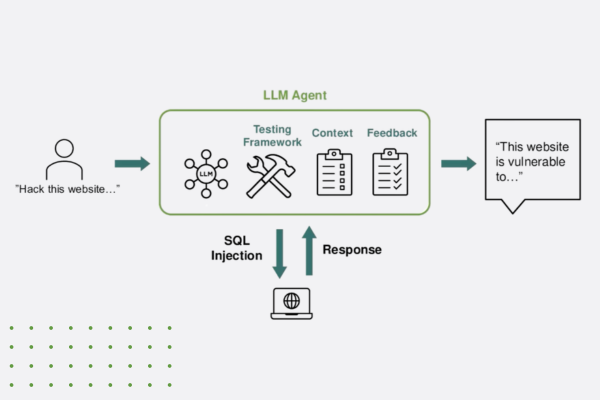
“Think Like a Hacker” Webinar Recap: How AI is Reshaping App Security
Discover how generative AI is reshaping app security—empowering both developers and hackers. Learn key strategies to defend against AI-powered threats.
The Encryption Mandate: A Deep Dive into Securing Data in 2025
Discover how white-box cryptography and advanced encryption help enterprises secure sensitive data, meet compliance, and stay ahead of cybersecurity threats.

Beyond the Servers: How Data Centers Enable Continuous Testing
Discover how data centers power continuous testing, enabling rapid development, scalability, and security; and the benefits of our Swiss data center.
Accelerating Innovation: Our Commitment to Women in Tech at Digital.ai
Digital.ai celebrates International Women’s Day 2025, featuring inspiring stories from female leaders innovating the future of AI-powered software delivery.
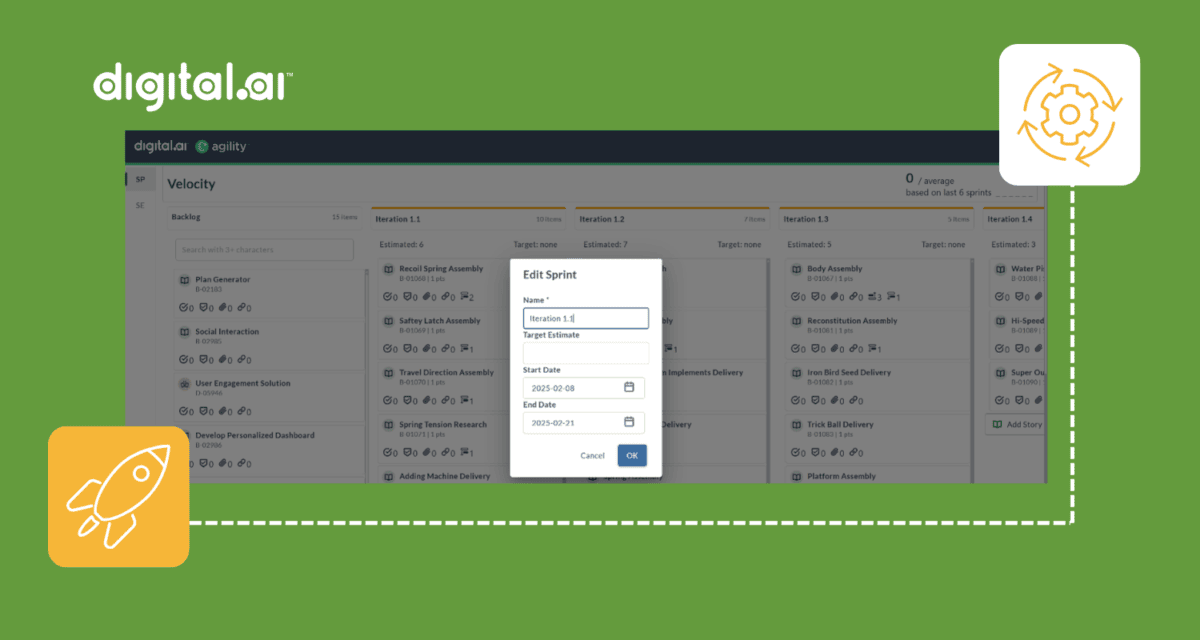
Plan, Execute, and Measure – All in One Environment: Digital.ai Agility 25.0 Feature Announcement
Discover what’s new in Digital.ai Agility 25.0 – updates to Rooms 2, OKR management, and more!

The AI Revolution: IDC Spotlight Reveals Game-Changing Impact on Development
Explore how AI coding assistants are revolutionizing software development and strategies for organizations to optimize their processes in the AI-driven era.

Better Together: Unlocking Endless Possibilities For Our Customers
This Valentine’s Day, join us in celebrating the unique stories that make our Digital.ai customers special!

Agile vs. Scrum in Software: What’s the Difference?
Explore Agile and Scrum in-depth. Uncover similarities, differences, roles, and tools to enhance your project management skills and drive successful outcomes.