Table of Contents
Robot Overview
Robot Framework is a test automation framework that makes it easy for QA teams to manage acceptance testing and acceptance test-driven development (ATDD) environments. The tool was first designed by Pekka Klarck in 2005 and developed at Nokia Networks the same year. It was offered as open-source in 2008. Written in Python language, Robot offers a rich ecosystem of libraries and tools while allowing you to integrate it with virtually any test automation solution. The framework also runs on IronPython (.NET) and Jython (JVM). It is platform-agnostic and application-agnostic as well. The tool comes with easy syntax and uses a keyword-driven test approach. The keywords are human-readable. You can use the built-in keywords or create one from scratch. Currently, Robot Framework Foundation now takes care of the development of the tool.
What is Acceptance Testing?
Acceptance testing is a part of a testing project that checks if the software complies with functional specifications and business requirements before pushing it into production. In a typical testing pipeline, unit tests run first. They are followed by integration testing and system testing. Finally, acceptance testing is done to ensure that the software meets all business requirements before it is delivered to end-users. Acceptance testing is normally performed by running Black Box testing.
Acceptance testing is done in two ways for example:
- Internal Acceptance Testing: The members of the software company who did not participate in the development of that software will test it.
- External Acceptance Testing: Members outside the software company will test it (mostly, clients who ordered that software). Later, end users will test it.
What is Acceptance Test-Driven Development (ATDD)?
Acceptance Test-Driven Development (ATDD) is a user-centric approach to test automation. In a Test-driven Development (BDD) environment, developers write tests from their perspective. ATDD works the other way round. Here, different teams such as Developers, QA, and customers collaborate on preparing acceptance test cases before incorporating the functionality into the application. With a user-centric approach and seamless collaboration between development teams and functional experts, developed applications have a higher chance of meeting acceptance criteria. With ATDD, functional testing becomes easy and effective.
Behavior-driven development (BDD) and ATDD share a lot of similarities. However, they differ in one key aspect. BDD focuses on the behavior of a feature while ATDD focuses on requirements.
The History of Acceptance Test-driven Development
It was Kent Beck who first mentioned the concept of Acceptance test-driven development environment in a book, ‘Test Driven Development: By Example’ in 2003. He opined that it was practically not possible. However, the popularity of Fitnesse open-source test automation tool which provided good collaboration between business stakeholders made ATDD a reality.
ATDD provides a clear understanding of an application’s user requirements while serving as a guide for the entire development project. It also facilitates nice collaboration between different teams. Some of the tools used for ATDD include Robot Framework, TestNG, Fitnesse, Thucydides, and EasyB.
Robot Framework for Acceptance Testing and ATDD
Before proceeding with this framework, it is important to understand some of the key aspects of the tool.
- Table-based test cases: The tool enables you to write test cases using keywords in a simple tabular format.
- Keywords: The tool offers built-in keywords to write test cases. You can also import keywords from open-source libraries or create your own keywords.
- Libraries: The tool supports a range of libraries such as Selenium library, iOS library, Debug library, FTP library, etc.
- Resources: The tool allows you to import robot files with keywords from external sources.
- Variables: The tool supports three types of variables; scalar variable, dictionary variable, and list variable.
- Tags: The tool allows you to tag test cases so that you can add or omit them while running test suites.
- Reports and Logs: The tool provides the details of the tests in the form of HTML and log files.
Getting Started with Robot Framework
Here are the prerequisites for running this acceptance testing framework.
- Python with PIP
- Robot Framework
- wxPython
- RIDE
Step 1: Install Python
Visit the following website to download Python software.
https://www.python.org/downloads/
Download the latest version for your operating system (eg: Windows)
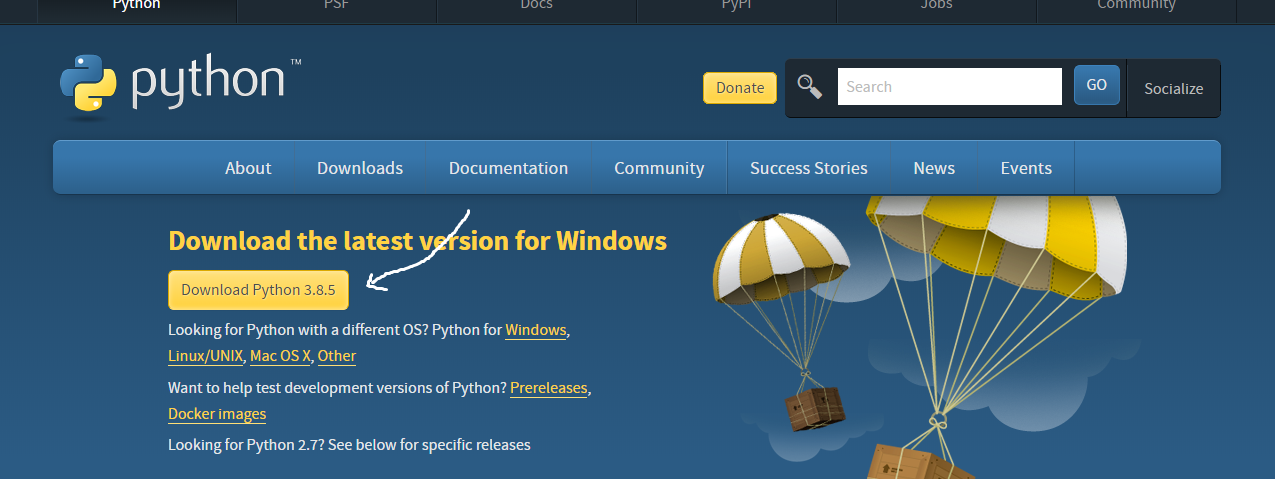
Double-click the Python software to begin the installation.
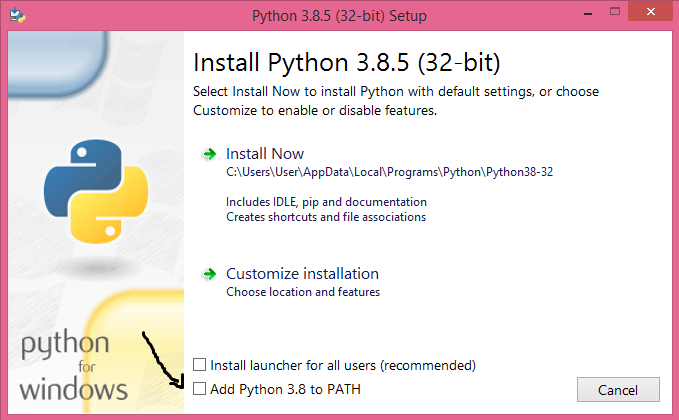
You can click on ‘Install Now’ to install the default package. It comes with pip, IDLE, and documentation. Alternatively, you can choose ‘Customize installation’ to select the features of your choice.
Notice that the Setup offers an option ‘Add Python 3.8 to PATH. When you check this box, the tool will automatically update the path of Python in environment variables.
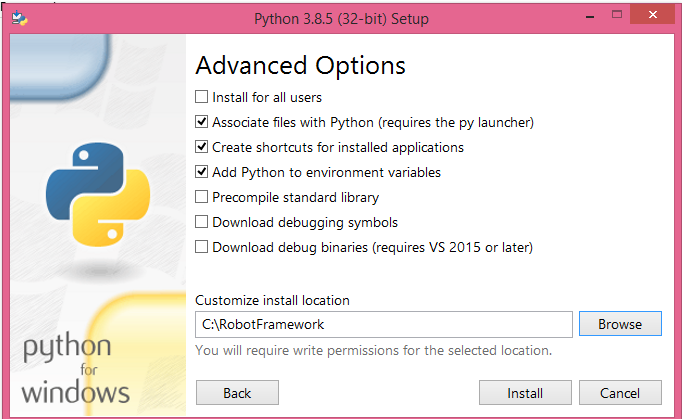
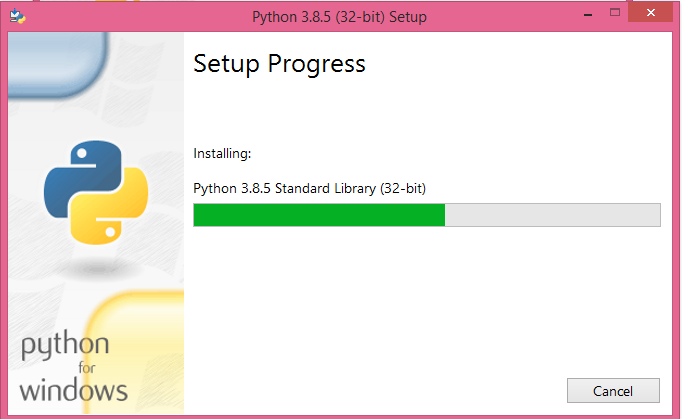
Customize the installation options and choose the location and click Install to begin the installation procedure.
Once finished, you’ll see a thank you note for Mark Hammond who contributed for the Python Windows tool.

To check if Python and pip are correctly installed, open the command prompt, and run the version command.
- python –version
- pip –version
Note that pip gets installed along with python by default.
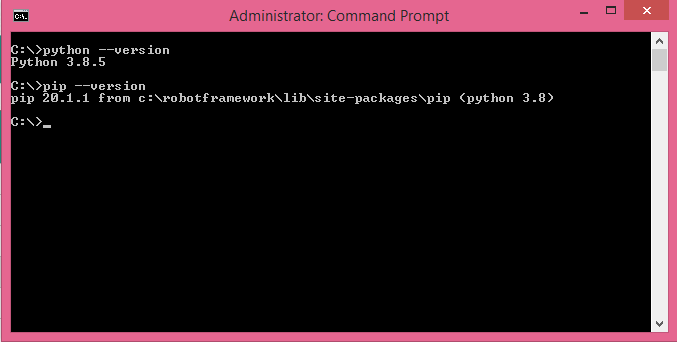
Now, Python and pip are installed and ready for use.
Step 2: Configure Environment Variables
After installing Python and pip, you should configure environment variables by adding the path. To do so,
- Go to System – > Advanced System Settings – > Advanced – > Environment Variables
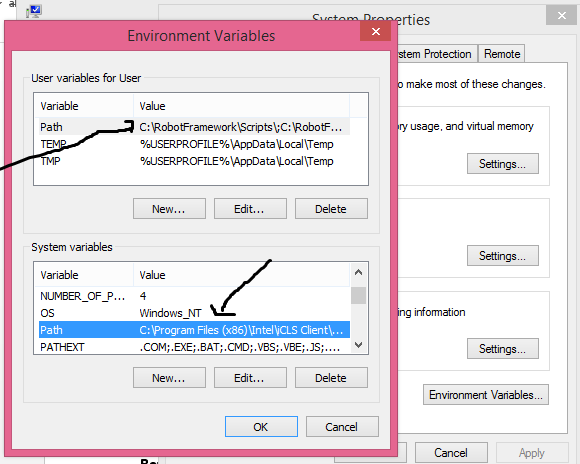
Add the path of the folder where Python is installed to the system variables section and user variables section. Here, you see that path is already updated as this option is selected while installing Python.
Step 3: Install Robot Framework
Open the command prompt and navigate to the python folder and type the following command:
- Pip install robotframework
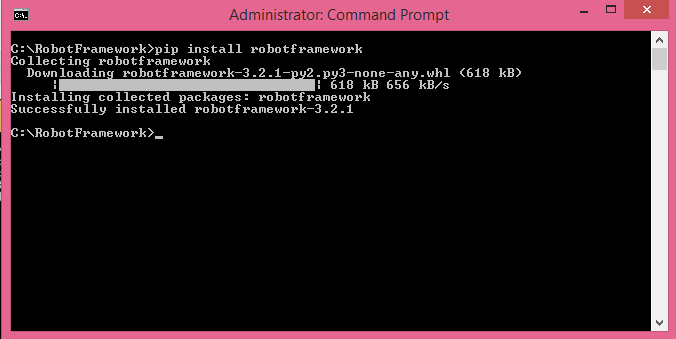
Robot Framework is successfully installed. You can check it using the version command.
- robot –version
Step 4: Install wxPython
Download wxPython software from the following link:
Open the command prompt and type the following command:
- Pip install –u wxPython
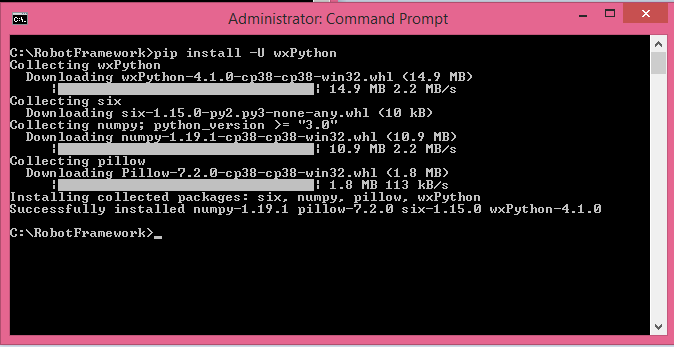
Now, wxPython version 4.1.0 is successfully installed.
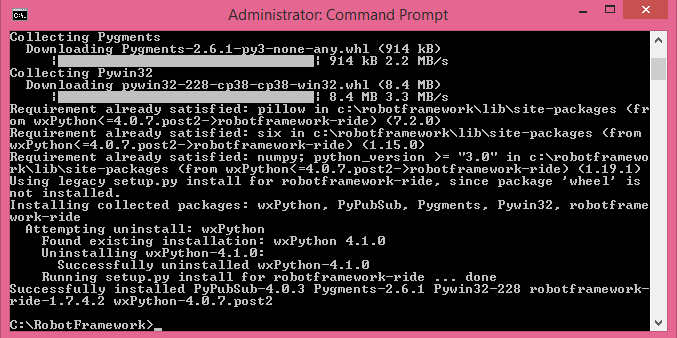
Step 5: Install RIDE
To install RIDE, open the command prompt and type the following command.
- pip install robotframework-ride
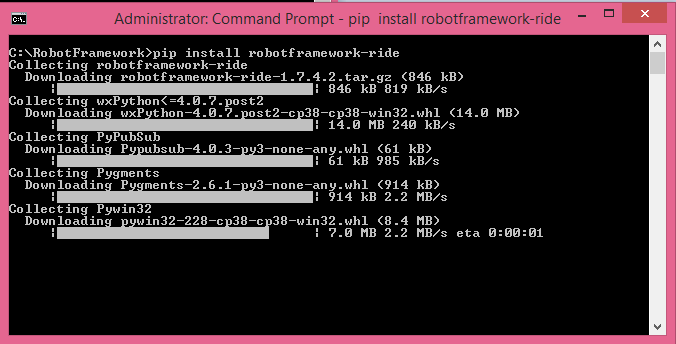
Now, RIDE is ready for use.
To open RIDE, open the command prompt and type the following command:
- ride.py
The latest version of Python i.e 3.8.1 doesn’t support RIDE. You have to wait for the Future Ride 2.0. You can download the beta version that is released in Jul 2020 from the GitHub site here:
https://github.com/robotframework/RIDE/releases
Alternately, you can open a command prompt and use pip to install the beta ride version
- pip install –pre-upgrade Robot Framework-ride==2.0b1
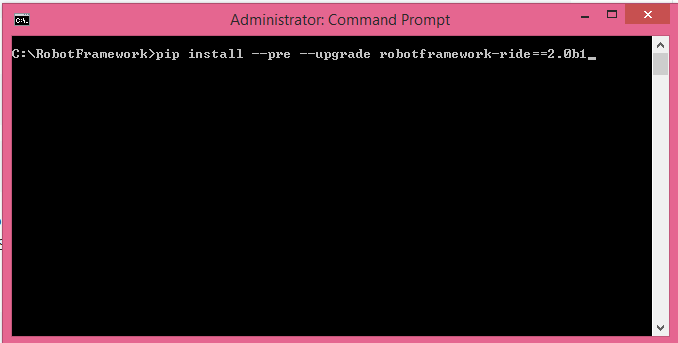
The pip installs ride beta version.

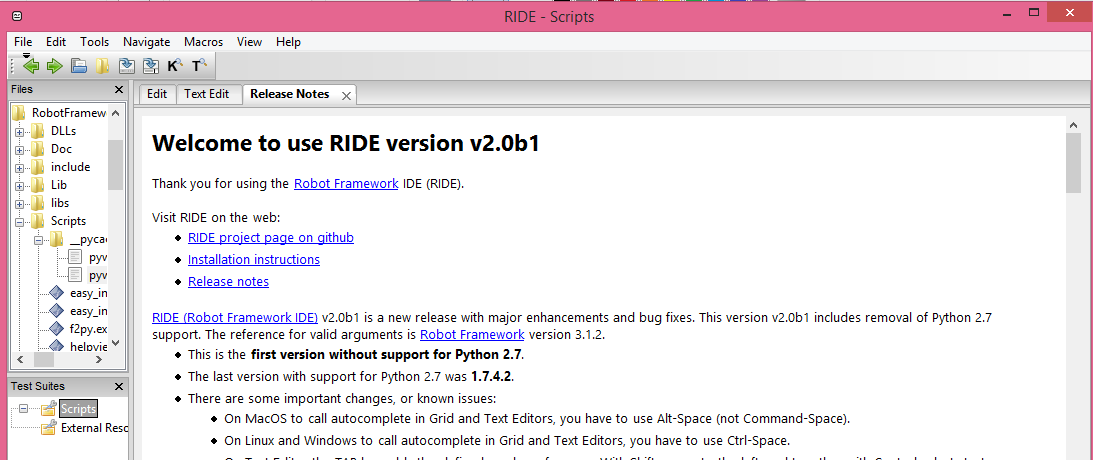
Now, open the command prompt and type the following command to open the RIDE editor.
- ride.py
Running your First Test Case using Robot Framework
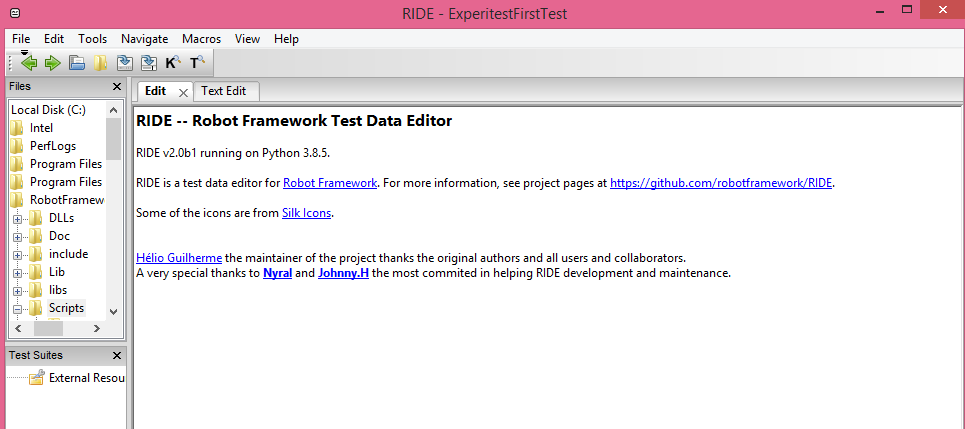
To run your first test case, open the RIDE IDE using the shortcut link on Windows Desktop. Alternatively, you can use the command-line interface to open RIDE.
Open the command prompt and type the following command.
- ride.py
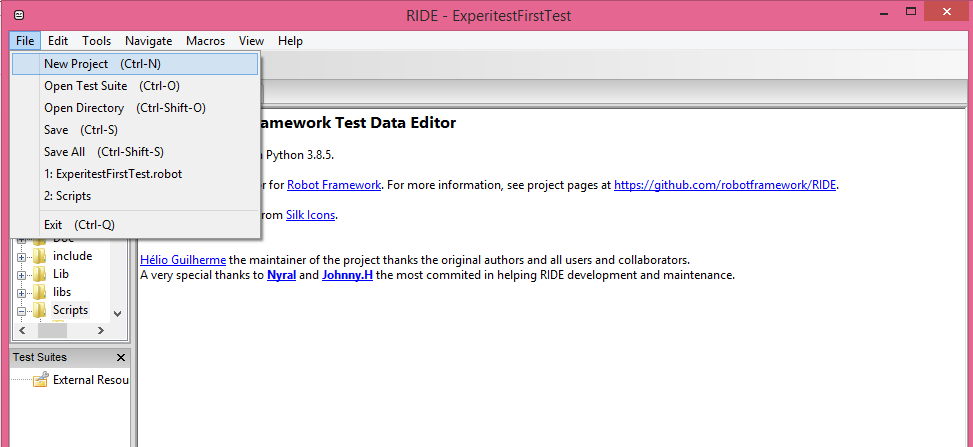
Click on File -> New project
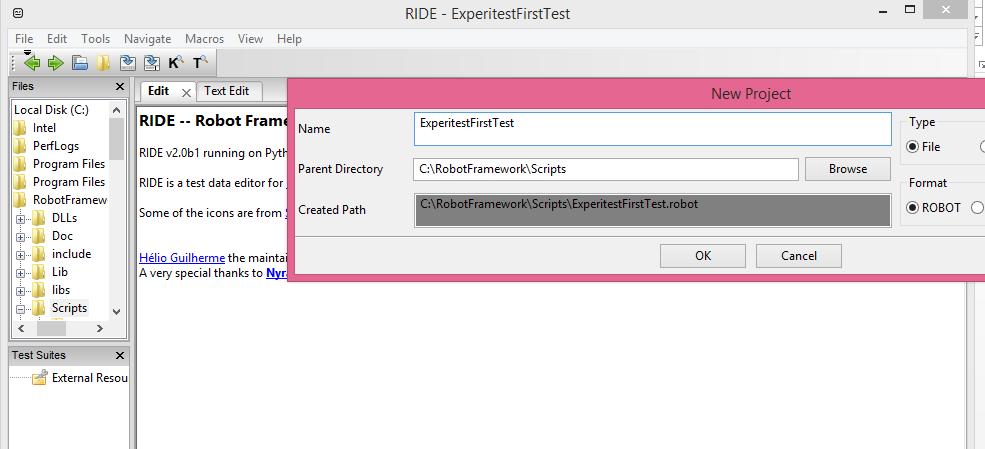
Enter a name for your project and click ok.
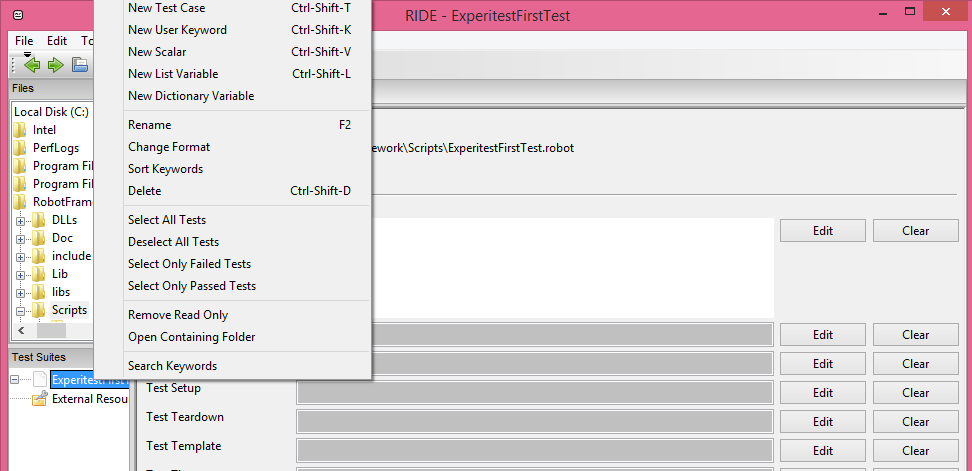
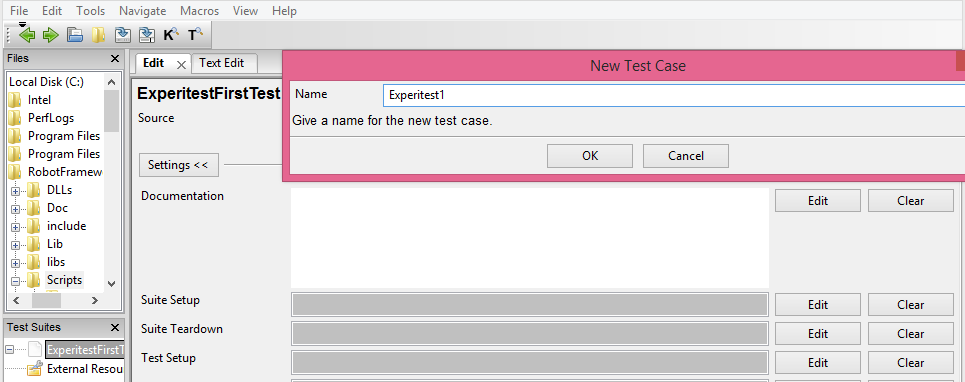
You can find the name of your test project on the left side menu under Test Suites. Right-click on the test project and select the ‘New test case’.
Give a name for your test case and click Ok.
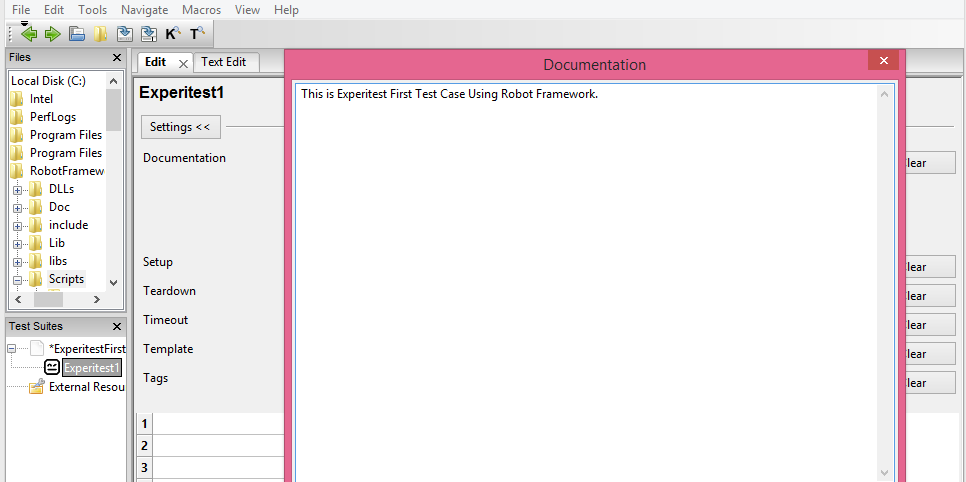
Now, click on the documentation screen to document the details of the test case.
Ride allows you to write scripts in a tabular format. You can add keywords and values for each keyword. For instance, enter the keyword ‘log’ and log the details of the test.
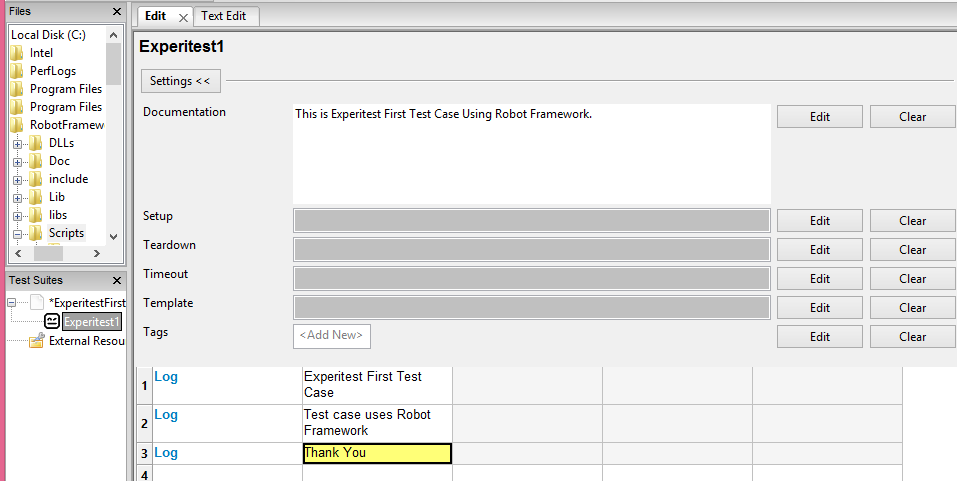
Click on save to save your test case.
Now, you can click on the start to run the test case. Alternatively, you can run this test case from the command line interface.
Open the command prompt and navigate to the folder of the saved test case. The file saves here under the scripts folder in the robot framework project directory.
- robot -T Experitest1.robot
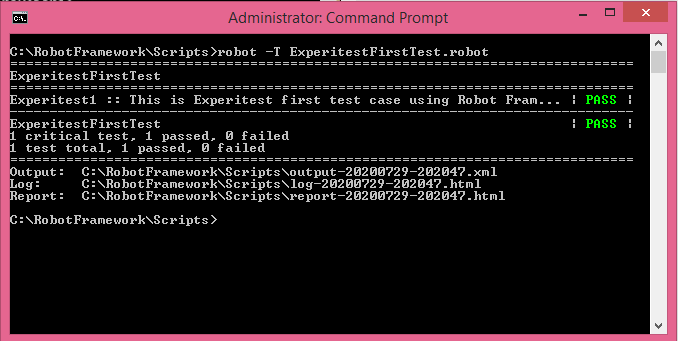
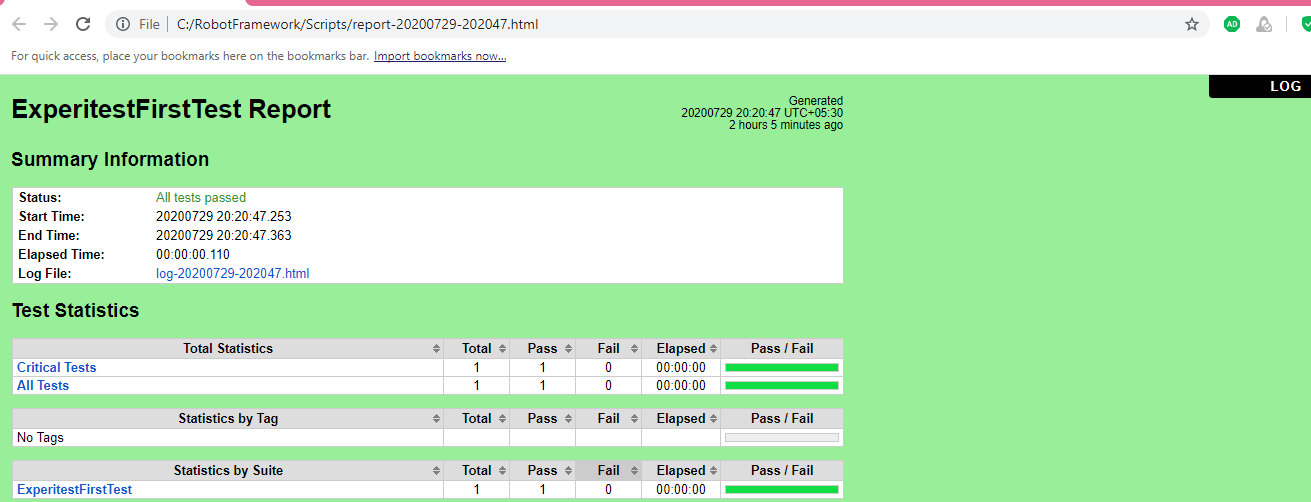
The test case is successfully executed. RIDE also creates the output file in the XML format and the report and log files in the HTML format. You can check the report by opening the HTML file. You can open the HTML file directly in windows or use the command prompt to invoke the explorer. Check the name of the report and type the following command in the command prompt
- Start report-20200729-202047.html
The ride normally stores the report using the data in the YYYY/MM/DD format and the time in HHMMSS format.
To check the test execution log, click on the log on the right top corner. You can also open the log using the CLI
- Start log-20200729-202047.html
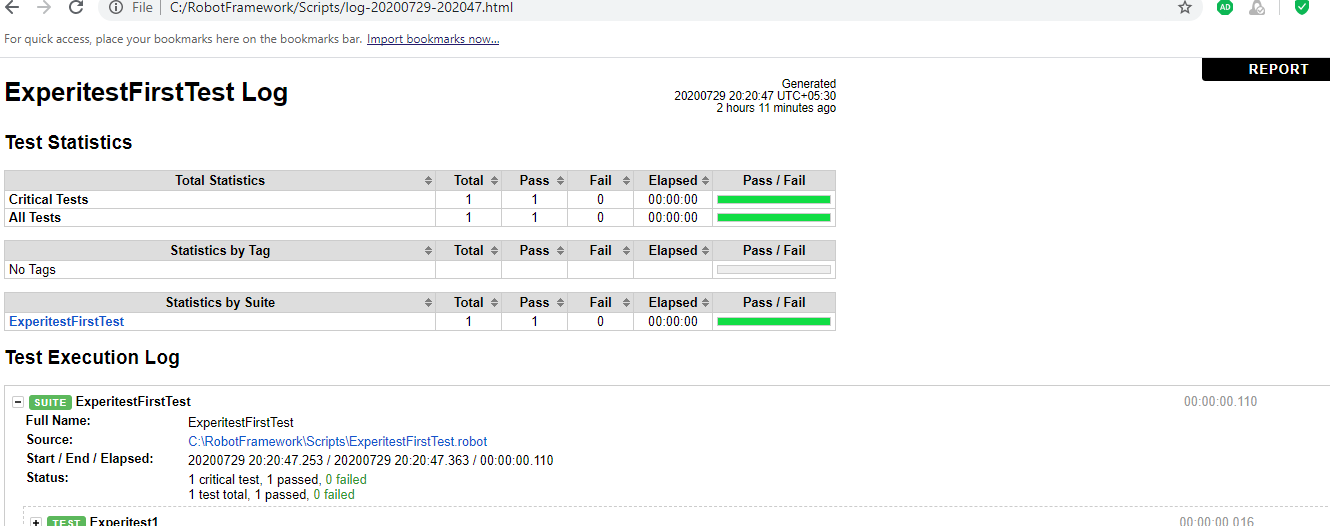
As you can see from the test execution log, the tests are keyword-driven. You can check the keyword and the given message with the given level.

Another Sample Test – Testing Login Credentials
Here is another sample test that opens a website and validates the login credentials. Additionally, a demo app is used for this test wherein a demo server runs on a localhost at http://localhost:7272
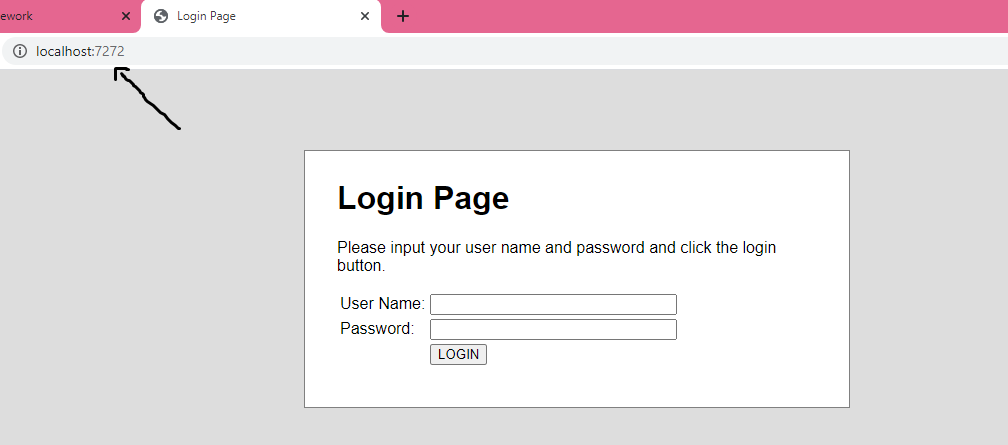
Now, create a new project and a test case and add the following code.
*** Settings ***
- Documentation Experitest sample test using SeleniumLibrary.
- Library SeleniumLibrary
*** Variables ***
- ${LOGIN URL} http://localhost:7272
- ${BROWSER} Chrome
*** Test Cases ***
- Valid Login
- Open Browser To Login Page
- Input Username demo
- Input Password mode
- Submit Credentials
- Welcome Page Should Be Open
- [Teardown] Close Browser
*** Keywords ***
- Open Browser To Login Page
- Open Browser ${LOGIN URL} ${BROWSER}
- Title Should Be Login Page
- Input Username
- [Arguments] ${username}
- Input Text username_field ${username}
- Input Password
- [Arguments] ${password}
- Input Text password_field ${password}
- Submit Credentials
- Click Button login_button
- Welcome Page Should Be Open
- Title Should Be Welcome Page
This test suite will run different test cases and checks the login function with different scenarios such as invalid username, invalid password, successful login etc.
To Conclude
As the business world is moving from a feature-based development towards a user-centric approach, acceptance data-driven development has a key role to play in software development and testing environments. Robot Framework rightly serves this purpose. With keyword-driven testing methods, this open-source makes it easy and cost-effective to run acceptance testing. The easily-readable syntax and easy to use interface makes this tool a good choice for testing companies of all sizes.
If you want to see some other frameworks that can integrate with Digital.ai Continuous Testing take a closer look.
Are you ready to scale your enterprise?
Explore
What's New In The World of Digital.ai

Start Testing Samsung Galaxy S26 Series Today with Digital.ai Testing
Samsung has officially introduced the Galaxy S26 series, continuing its lineup…

Android 17 Beta Support Now Available with Digital.ai Testing
As we move closer to the anticipated release of Android 17 —…

Accelerating Test Creation using LLMs
Manual Testing Bottleneck Over the past couple of decades, software…
